First Article Inspection – A Comprehensive Guide on How to Perform an FAI

First Article Inspections (FAI) are used to ensure that parts off of new or modified tooling or processes conform to the part design requirements.  This even includes changing the location of manufacture! Yes – this can make a difference sometimes (usually due to different equipment, the same equipment setup slightly differently, environmental conditions, different manufacturing standards, etc).  This includes any time the Form, Fit, or Function could be impacted.

Continue Reading

, ,

ISO17025 Inspection Using Metrology CT

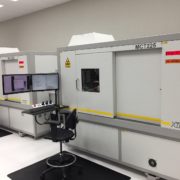
Industrial CT scanning has gained prominence in dimensional data collection technologies with the advent and continual development of additive manufacturing. Now, CT scanning processes are being added to ISO17025 scopes of accreditation and the emergence of Metrology based CT is gaining recognition and acceptance across many industries.

Continue Reading

, , , ,

What Data Collection or Scanning Equipment and Technology is Needed for My Project?

Augmenting Structured Light

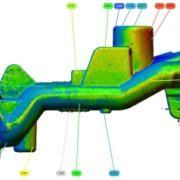
Many measurement and reverse engineering requirements require more than simple caliper or micrometer measurements.  Whether you are conducting a First Article Inspection (FAI), troubleshooting a manufacturing issue or reverse engineering a legacy part for improvements, one or multiple of the modern data collection methods may work – but what is best and what are you compromising on by using any particular method?  Do you do this work yourself or hire out an experienced service provider?

Continue Reading

, , , , , , , , , , ,

Common Contact Measurement Devices and Methods

Contact measurement devices constitute the majority of what is traditionally used for dimensional metrology.  These consist of devices that must be in physical contact with the object to be measured.  Below is a listing of general types of contact measurement devices.  This covers the vast majority of what is used today and is a good overview on what is possible and what to expect from data taken with these instruments.  We freely use these types of devices in our service business where it makes sense for any particular project due to quality, cost and timing.

Continue Reading

, , , ,

Common Non-Contact Measurement Devices and Methods

Non-contact or touchless dimensional measurement devices are the modern new comer to an array of contact devices that have been traditionally used.  Contact devices are discussed in this link on Common Contact Measurement Devices.  All of the non-contact devices generate a point cloud or voxel data set as their most raw form of data.  The exception is the optical comparator which has been around since the late 1920s.  It does not expressly produce digital data, but some of the variant equipment that evolved from this equipment does.

Continue Reading

, , , , , , , , , , ,

How is the Accuracy of Industrial CT Scans Verified?

Industrial CT scanning continues to gain popularity for use in measurements.  The real question to be asked is:  Is the data extracted from CT scans accurate?  Since its inception, CT scanning has been used to visualize internal structures from people to industrial items.  It is unparalleled in its ability to see those things that are hidden inside an assembly.  It is also important for measuring the effects of an assembly in its assembled state.  Using CT data to provide accurate measurements has always been around but there was no universally agreed upon ways to ensure the validity of the measurements.

Continue Reading

, , , ,

ISO9001 vs ISO17025 vs AS9100 – Why It Matters When It Comes To Your Metrology Needs

Every day, we in industry find ourselves in need of verifying the parts we have designed and built. Part of this verification comes in the forms of physical testing, as well as measurement and analysis. Whether you are looking at a prototype component or have a need to create an inspection plan for a production component, you will need someone who is proven capable in the science of measurement, otherwise known as the field of metrology. A simple Google search will reveal that there seems to be no lack of companies offering the services of metrology.

Continue Reading

, , , ,

How accurate is a CT scan? – Computed Tomography and Metrology

Metrology Grade CT Scan

Since shortly after X-Rays were discovered in 1895 they have been widely used in many diverse applications. The medical field was an early adopter of this technology, using X-Rays throughout the world within the first year. As it developed in medicine other uses emerged on the industrial side.

Continue Reading

, , , ,

Industrial CT Scanning: Defining Porosity of 3D Porous Structures for Medical Implants using Advanced Metrology Methods

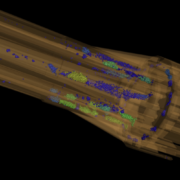
With the advent of new ways of creating medical implants that promote bone ingrowth, an updated method of evaluating their effectiveness should be employed.  3D Printed Additive manufacturing and other creative manufacturing techniques have been developed to create porous structures that promote bone ingrowth. Traditionally, the effectiveness of these structures is tested by taking 2D cross sections of harvested implants and applying calculations to define pore size and interconnectivity.  In this way, researchers can test and compare the Osteoconduction ability of the new structure.
Continue Reading

, , ,

Effect of Tertiary Datum on Position Tolerance

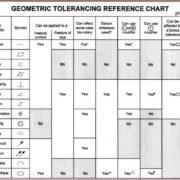
Geometric Tolerancing

When doing a dimensional inspection of a machine part, the print often has callouts for position that use three datum, most often datums A, B and C. This ABC datum structure is the datum reference frame to which geometric dimensions and tolerances of the part are defined.
Continue Reading

, ,