Effect of Tertiary Datum on Position Tolerance

Geometric Tolerancing

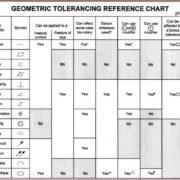
When doing a dimensional inspection of a machine part, the print often has callouts for position that use three datum, most often datums A, B and C. This ABC datum structure is the datum reference frame to which geometric dimensions and tolerances of the part are defined.
Continue Reading

, ,

Continued CT Services Expansion

Continued-CT-Services-Expansion

3D Engineering Solutions (3DES), North Americas’ most Advanced & Proven Center of Excellence For Metrology & Engineering Services is pleased to announce their ongoing strategic partnership with Nikon Metrology, Inc (NMI) of Brighton, Michigan. 3DES recently purchased two additional advanced industrial computed tomography (CT) systems from NMI. These systems use X-rays to penetrate components and assemblies to retrieve all surface and internal details.
Continue Reading

, , , , , , ,

Industrial CT Scanning: Medical Industry Applications

How is the Medical Industry Taking Advantage of Industrial CT Scanning?

The medical industry uses 3D Engineering Solutions industrial CT scanning services for many different applications. Some of them involve implants, devices that are used for patient care, and even for court cases related to medical items.
Continue Reading

3D Engineering Solutions Acquires FARO Focus S 350 to Improve Accuracy in Long Range Scanning Services

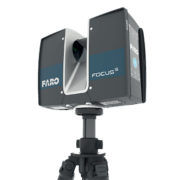
3D Engineering Solutions recently acquired the new FARO Focus S 350 long range scanner to compliment its growing customer demand for increased accuracy in long range scanning services. This new ‘best in class’ long range laser scanner offers outstanding features over the existing field of competitive equipment.
Continue Reading

,

Industrial CT Scanning: Additive Manufacturing of Aerospace Parts

What is additive manufacturing?

Additive manufacturing is the process of taking a powder generally of a metal, for example for aerospace, and using lasers to center the powder together and build a part up layer by layer.

Continue Reading

Can 3D Engineering Solutions find porosity of a 0.2mm size?

Recently, 3D Engineering Solutions was asked if we could detect porosity of a 0.2mm in a customer casting.

Finding your 0.2mm porosity should not be an issue.

We use Perkin-Elmer 16”x16” Panel detectors with a 0.200mm pixel pitch.  That means that for each of the thousands of x-rays taken of your casting, the individual pixel size is 0.2mm x 0.2mm.  So basically, the panel will see right at a 0.2mm defect.  Beyond this, two other factors work in our favor: magnification and Sub-Voxel Resolution.

Continue Reading

,

A Case Study: The Advantage of Using Micro Focus Industrial CT Scanning

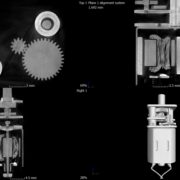
Recently I had a client who was purchasing micro motors from a Chinese company. These motors were very specialized for their required function as it has a gear reduction box attached to the output shaft.

Continue Reading

,

Automotive OEM Service: High-volume & Certified X-ray Inspection

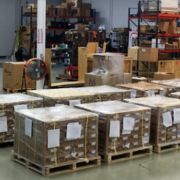
3D Engineering Solutions’ state of the art, temperature controlled, and ISO17025 accredited metrology lab offers certified digital radiography services. Our metrology lab and 30,000 sq. ft. of warehouse space can accommodate customer’s needs; from single part projects all the way up to production part projects for tens of thousands of parts. We have bar code logging capabilities for projects requiring full traceability and 100% data accountability.

Continue Reading

, , , ,

Creaform GO!Scan 3D

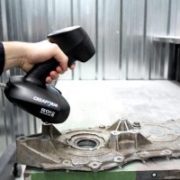
3D Engineering Solutions has recently acquired a Creaform GO!Scan 3D. This gives us the opportunity to offer yet another option when it comes to data collection for our customers. With this scanner, large parts can be scanned significantly faster. This is helpful in many situations.

Continue Reading

,

Scan to CAD Alignment Methods

There are multiple ways to align scan data to a CAD model. The main three methods used at 3D Engineering Solutions are best-fit, datum reference frame, and feature based.

Continue Reading